


Managing your computer’s storage is crucial for maintaining system performance, organizing files, and optimizing drive usage. Windows 11 includes a powerful built-in tool called Disk Management that allows users to handle various disk-related tasks without needing third-party software. Whether you want to partition a hard drive, format a USB device, change a drive letter, or check disk status, Disk Management provides the features needed to get the job done efficiently.
However, many users are unaware of how to access this important tool. Fortunately, Windows 11 offers multiple ways to open Disk Management, each suited to different user preferences—from beginners to advanced users. In this detailed guide, we’ll walk you through all the practical methods to launch Disk Management, explain what each method is best for, and help you choose the one that fits your workflow. Let’s dive into the various ways to open Disk Management on your Windows 11 PC.
Why Use Disk Management?
Before jumping into the ways to open Disk Management, it’s helpful to understand why you might need it. Disk Management gives users granular control over storage devices. With it, you can:
- Create, delete, or format partitions.
- Change drive letters and paths.
- Convert disks between MBR and GPT formats.
- Extend or shrink volumes.
- Set partitions as active or inactive.
- View disk properties and health status.
Whether you are setting up a new SSD, organizing partitions, or troubleshooting storage issues, Disk Management is your go-to tool in Windows 11.
Method 1: Open Disk Management via the Start Menu Search
Follow these steps to quickly access Disk Management using the Start Menu:
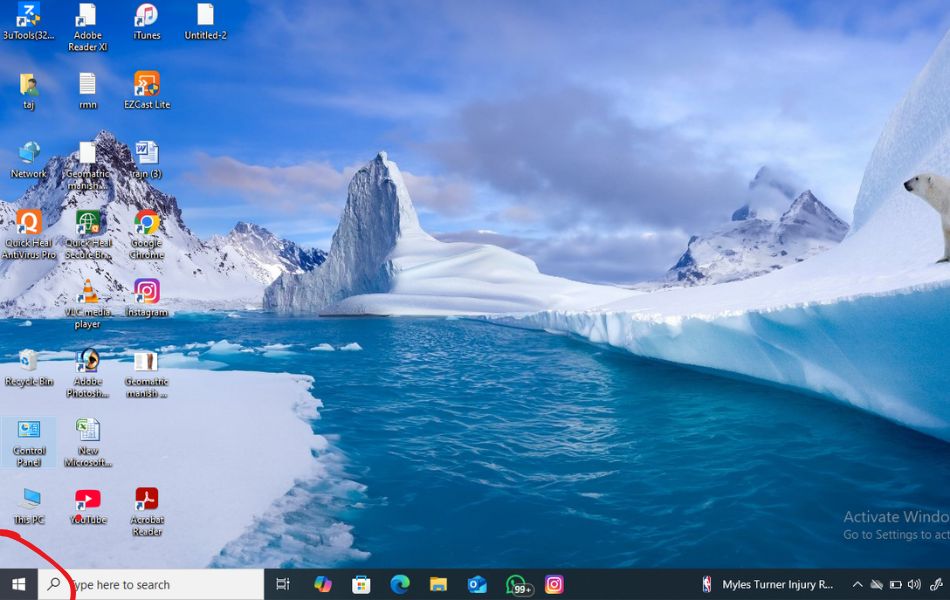
- Click the Start button on your taskbar or press the Windows key on your keyboard.
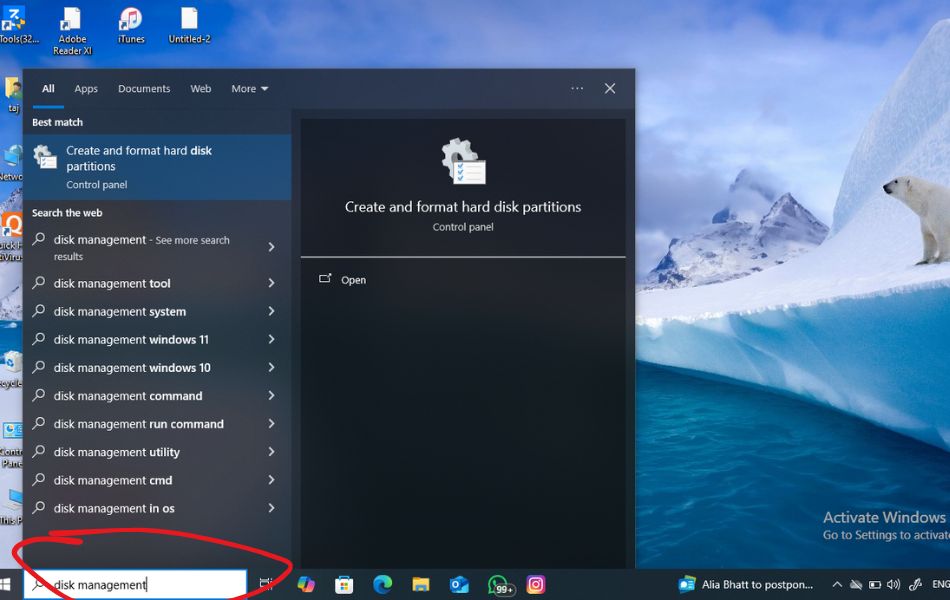
- In the search bar, type “Disk Management” or “Create and format hard disk partitions.”
- From the search results, click on the top match, which should read “Create and format hard disk partitions.”
- The Disk Management utility will open in a new window.
Method 2: Use the WinX Menu (Power User Menu)
The WinX Menu, or Power User Menu, is another quick way to access essential Windows tools, including Disk Management. Here are easy steps:
- Press Windows + X on your keyboard.
- From the menu that appears, click on Disk Management.
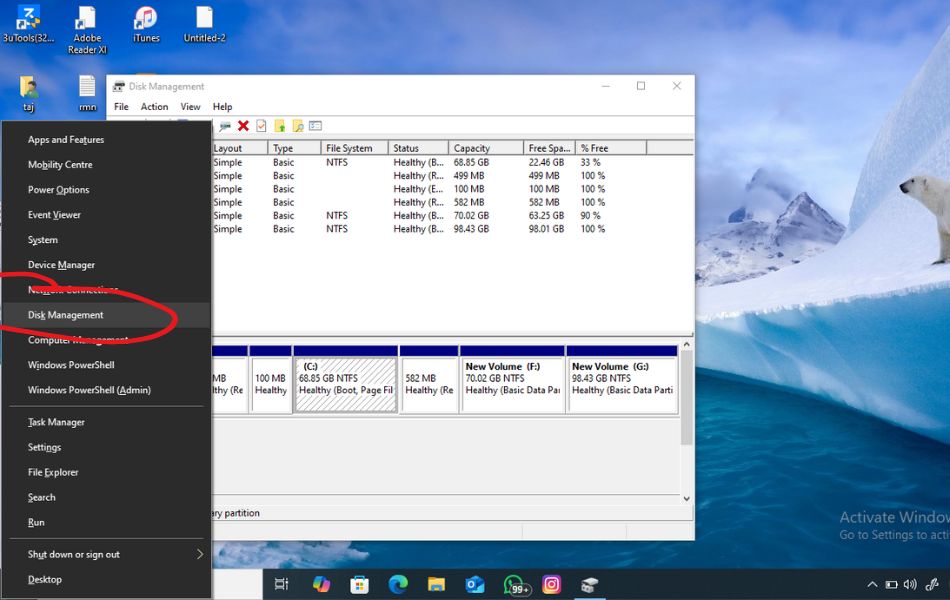
Alternatively, you can right-click the Start button to bring up the same menu.
Method 3: Launch Disk Management via Run Dialog
The Run dialog box is a versatile tool that lets you launch applications and settings quickly by entering command-line style input. Check out steps:
- Press Windows + R on your keyboard to open the Run dialog.
- Type diskmgmt.msc and press Enter or click OK.

This command directly invokes the Disk Management utility.
Method 4: Open from Control Panel
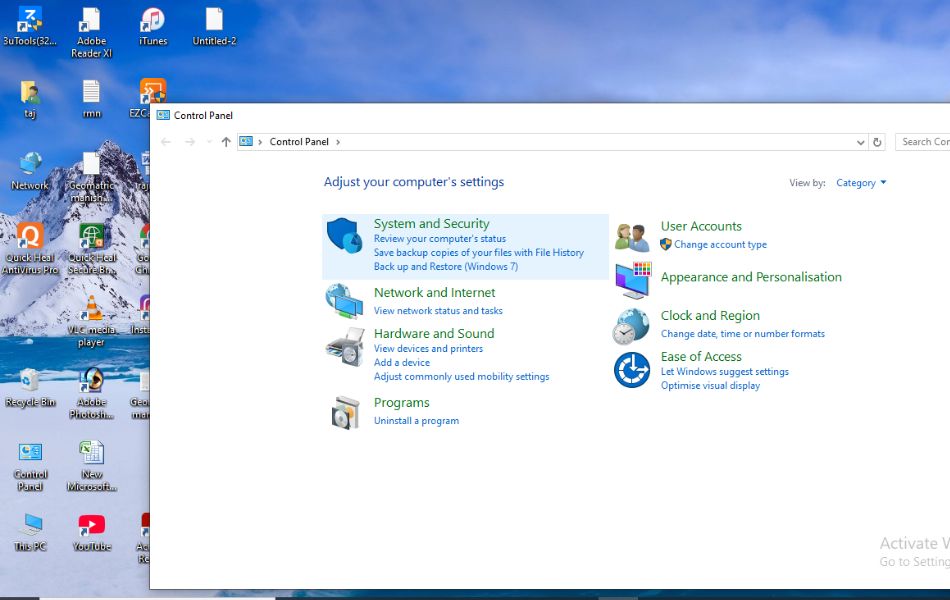
Even though Microsoft is transitioning most settings to the new Settings app, the Control Panel still exists in Windows 11 and can be used to access Disk Management.
- Open the Control Panel (you can search for it in the Start Menu).
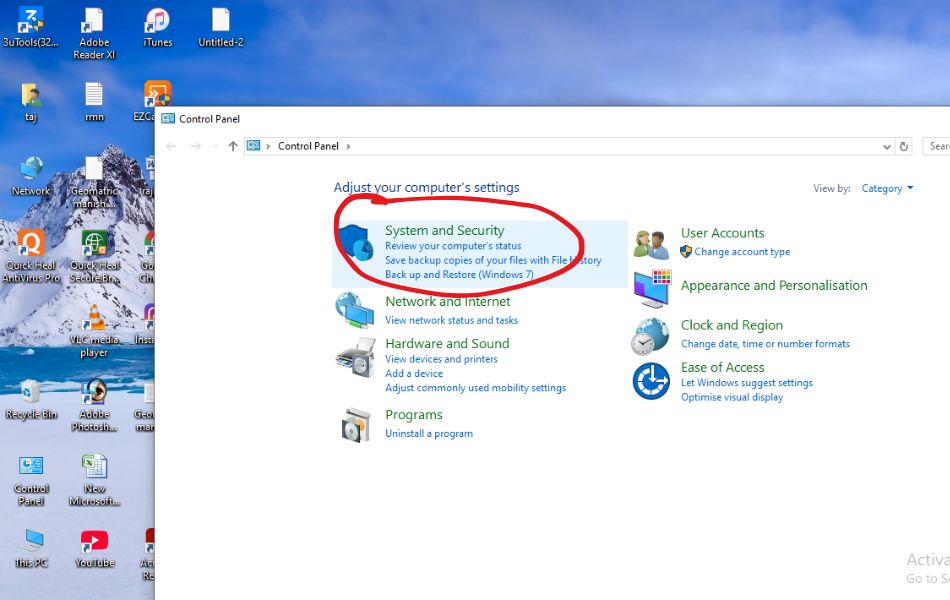
- Click on System and Security.
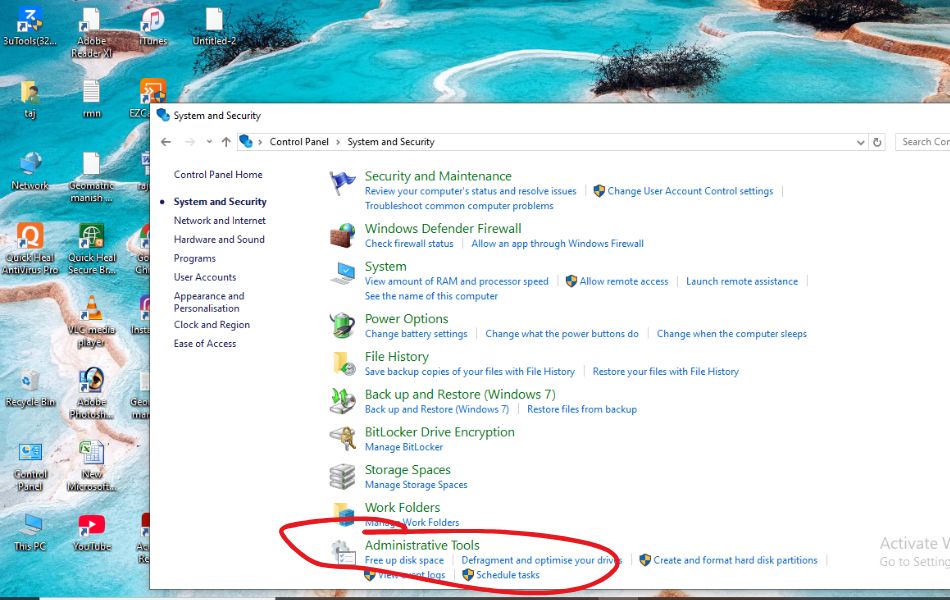
- Click on Administrative Tools.
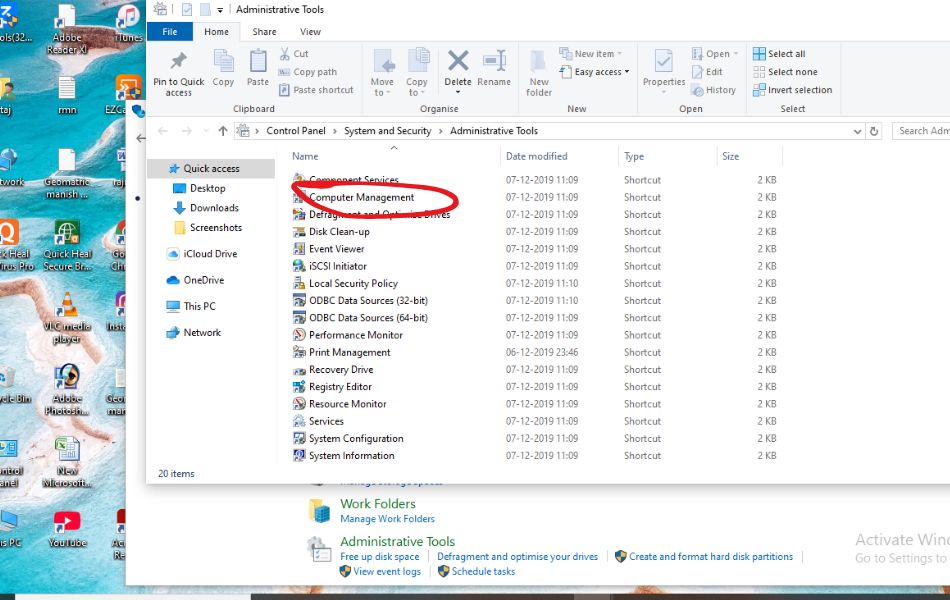
- In the Windows Tools window, double-click Computer Management.
- In the left pane, click on Disk Management under Storage.
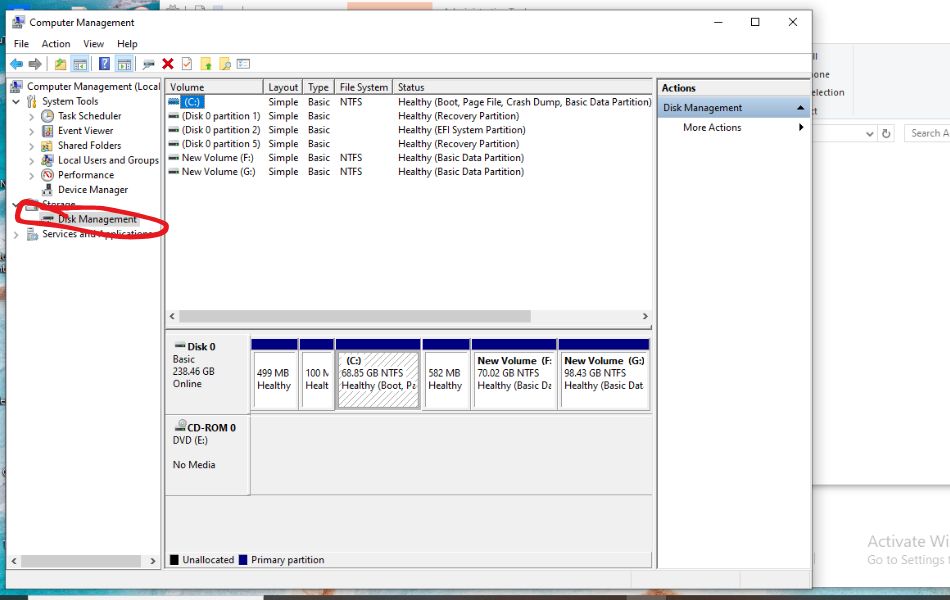
Method 5: Use the Computer Management Console
Disk Management is part of the Computer Management console. You can open it directly as well.
- Right-click on the Start button and choose Computer Management.
- In the left sidebar, expand Storage, then click Disk Management.
This console integrates multiple tools in one place, which is great for system administrators.
Method 6: Open Using Command Prompt
For those comfortable with command-line tools, Command Prompt provides a quick route.
- Press Windows + S, type cmd, and click on Run as administrator.
- In the Command Prompt window, type:
diskmgmt.msc
- Press Enter.
Method 7: Open Using Windows PowerShell
Like Command Prompt, PowerShell can also be used to open Disk Management.
- Right-click the Start button and select Windows Terminal (Admin) or Windows PowerShell (Admin).
- Type the following command and press Enter:
diskmgmt.msc
This opens Disk Management with administrative privileges.
Method 8: Use Task Manager
Task Manager isn’t just for monitoring system performance. You can also use it to launch tools like Disk Management.
- Press Ctrl + Shift + Esc to open Task Manager.
- Click on File > Run new task.
- Type diskmgmt.msc and check the box for Create this task with administrative privileges.
- Click OK.
This is a handy option when your desktop or Start Menu is unresponsive.
Method 9: Create a Desktop Shortcut
If you use Disk Management frequently, creating a shortcut on your desktop can save time.
- Right-click on your desktop and choose New > Shortcut.
- In the location field, enter:
diskmgmt.msc
- Click Next, name the shortcut (e.g., “Disk Management”), and click Finish.
You can even right-click the shortcut and choose Properties > Advanced > Run as administrator to ensure it always launches with admin rights.
Method 10: Access Through File Explorer
File Explorer provides another way to reach Disk Management.
- Open File Explorer.
- In the address bar, type diskmgmt.msc and press Enter.
This will instantly open the utility.
What Can You Do with Disk Management?
Disk Management is one of the most essential built-in utilities in Windows 11 for managing your computer’s internal and external storage devices. It provides a graphical interface that allows users to perform a wide range of disk-related tasks, making it easier to organize, configure, and troubleshoot drives and partitions without using third-party software. Here’s a detailed look at what you can do with Disk Management:
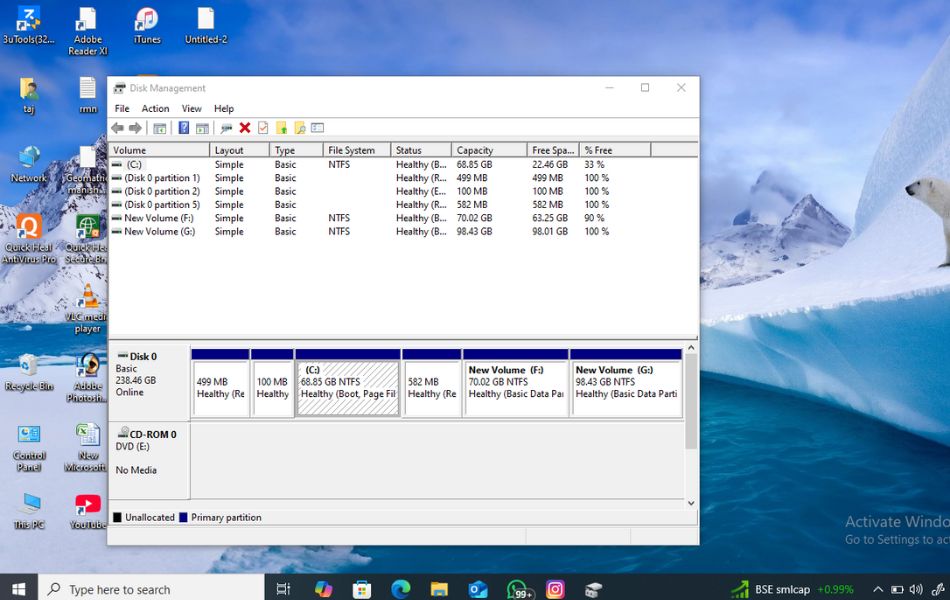
1. View Disk and Partition Information
One of the first things Disk Management shows you is a complete layout of your connected storage devices. You can see each drive, its partitions, available space, file system format (like NTFS or FAT32), and whether it’s online or offline. This visual layout helps users understand how their storage is allocated and how much space is used or free.
2. Initialize New Disks
When you connect a brand-new hard drive or SSD to your computer, it won’t appear in File Explorer until it has been initialized. Disk Management prompts you to initialize the drive as either MBR (Master Boot Record) or GPT (GUID Partition Table). GPT is recommended for modern systems, especially those using UEFI firmware. Initializing a disk prepares it for formatting and partitioning.
3. Create and Delete Partitions (Volumes)
With Disk Management, you can create new partitions, also known as volumes, on any unallocated space. This is useful if you want to divide a large drive into multiple sections for better organization. Conversely, if a volume is no longer needed, you can delete it to free up space and merge it with other partitions or create a new one.
4. Format Drives and Partitions
Formatting is the process of preparing a disk for use by assigning it a file system like NTFS or exFAT. Disk Management allows you to format partitions, which is useful when repurposing an old drive, wiping sensitive data, or fixing file system errors. Remember that formatting erases all data on the partition, so be sure to back up important files first.
5. Extend or Shrink Volumes
Need to resize an existing partition without losing data? Disk Management allows you to shrink a volume to create unallocated space or extend it by using adjacent unallocated space. This is especially helpful when you want to reallocate storage space between different drives or partitions without reformatting the entire disk.
6. Assign or Change Drive Letters
If you prefer a specific drive letter for a USB drive or partition, you can easily assign or change it using Disk Management. For example, you might want your external hard drive to always show up as “E:” or “F:” to match your backup scripts or personal preferences.
7. Mark Partitions as Active
Some advanced users may need to mark a partition as “active” to indicate that it contains bootable files. This function is typically used when setting up dual-boot systems or recovering from boot issues.
8. Convert Between Disk Types
Disk Management allows you to convert basic disks to dynamic disks and vice versa. You can also convert an MBR disk to GPT (or the other way around), though this typically requires deleting all partitions first unless using third-party tools or diskpart.
Conclusion
Disk Management is a robust and essential tool in Windows 11 for handling everything related to storage devices. Whether you are a casual user, a system administrator, or a tech enthusiast, knowing how to open Disk Management through various methods enhances your ability to manage your PC efficiently.
From using the Start Menu to advanced PowerShell commands, there are multiple ways to access Disk Management based on your comfort level. And with this guide, you’re now equipped to use the one that suits you best.
Frequently Asked Questions (FAQs)
Can I use Disk Management without admin rights?
No. Disk Management requires administrative privileges. Always run it as an administrator to avoid permission issues.
Is there a way to open Disk Management from BIOS?
No. BIOS does not support launching Windows utilities. You must boot into Windows to use Disk Management.
Does Windows 11 have a better alternative to Disk Management?
Windows 11 includes Settings-based storage tools, but Disk Management still offers more advanced options. For even more control, third-party tools like MiniTool Partition Wizard or EaseUS Partition Master are available.
